OVER 20 YEARS OF HISTORY & SUCCESS.
Cherry Ridge Retreat is a family-owned business with a rich history that dates back to the mid 90's—starting with the acquisition of 126 acres and a 100+ year-old farm house. Future newsletters will expand on our beginning and tell the whole story of Cherry Ridge Retreat.
Chapter 1 : The Beginning
The story begins when a close personal friend of mine told me about property for sale in the Hocking Hills Region of SE Ohio. He saw an ad in the…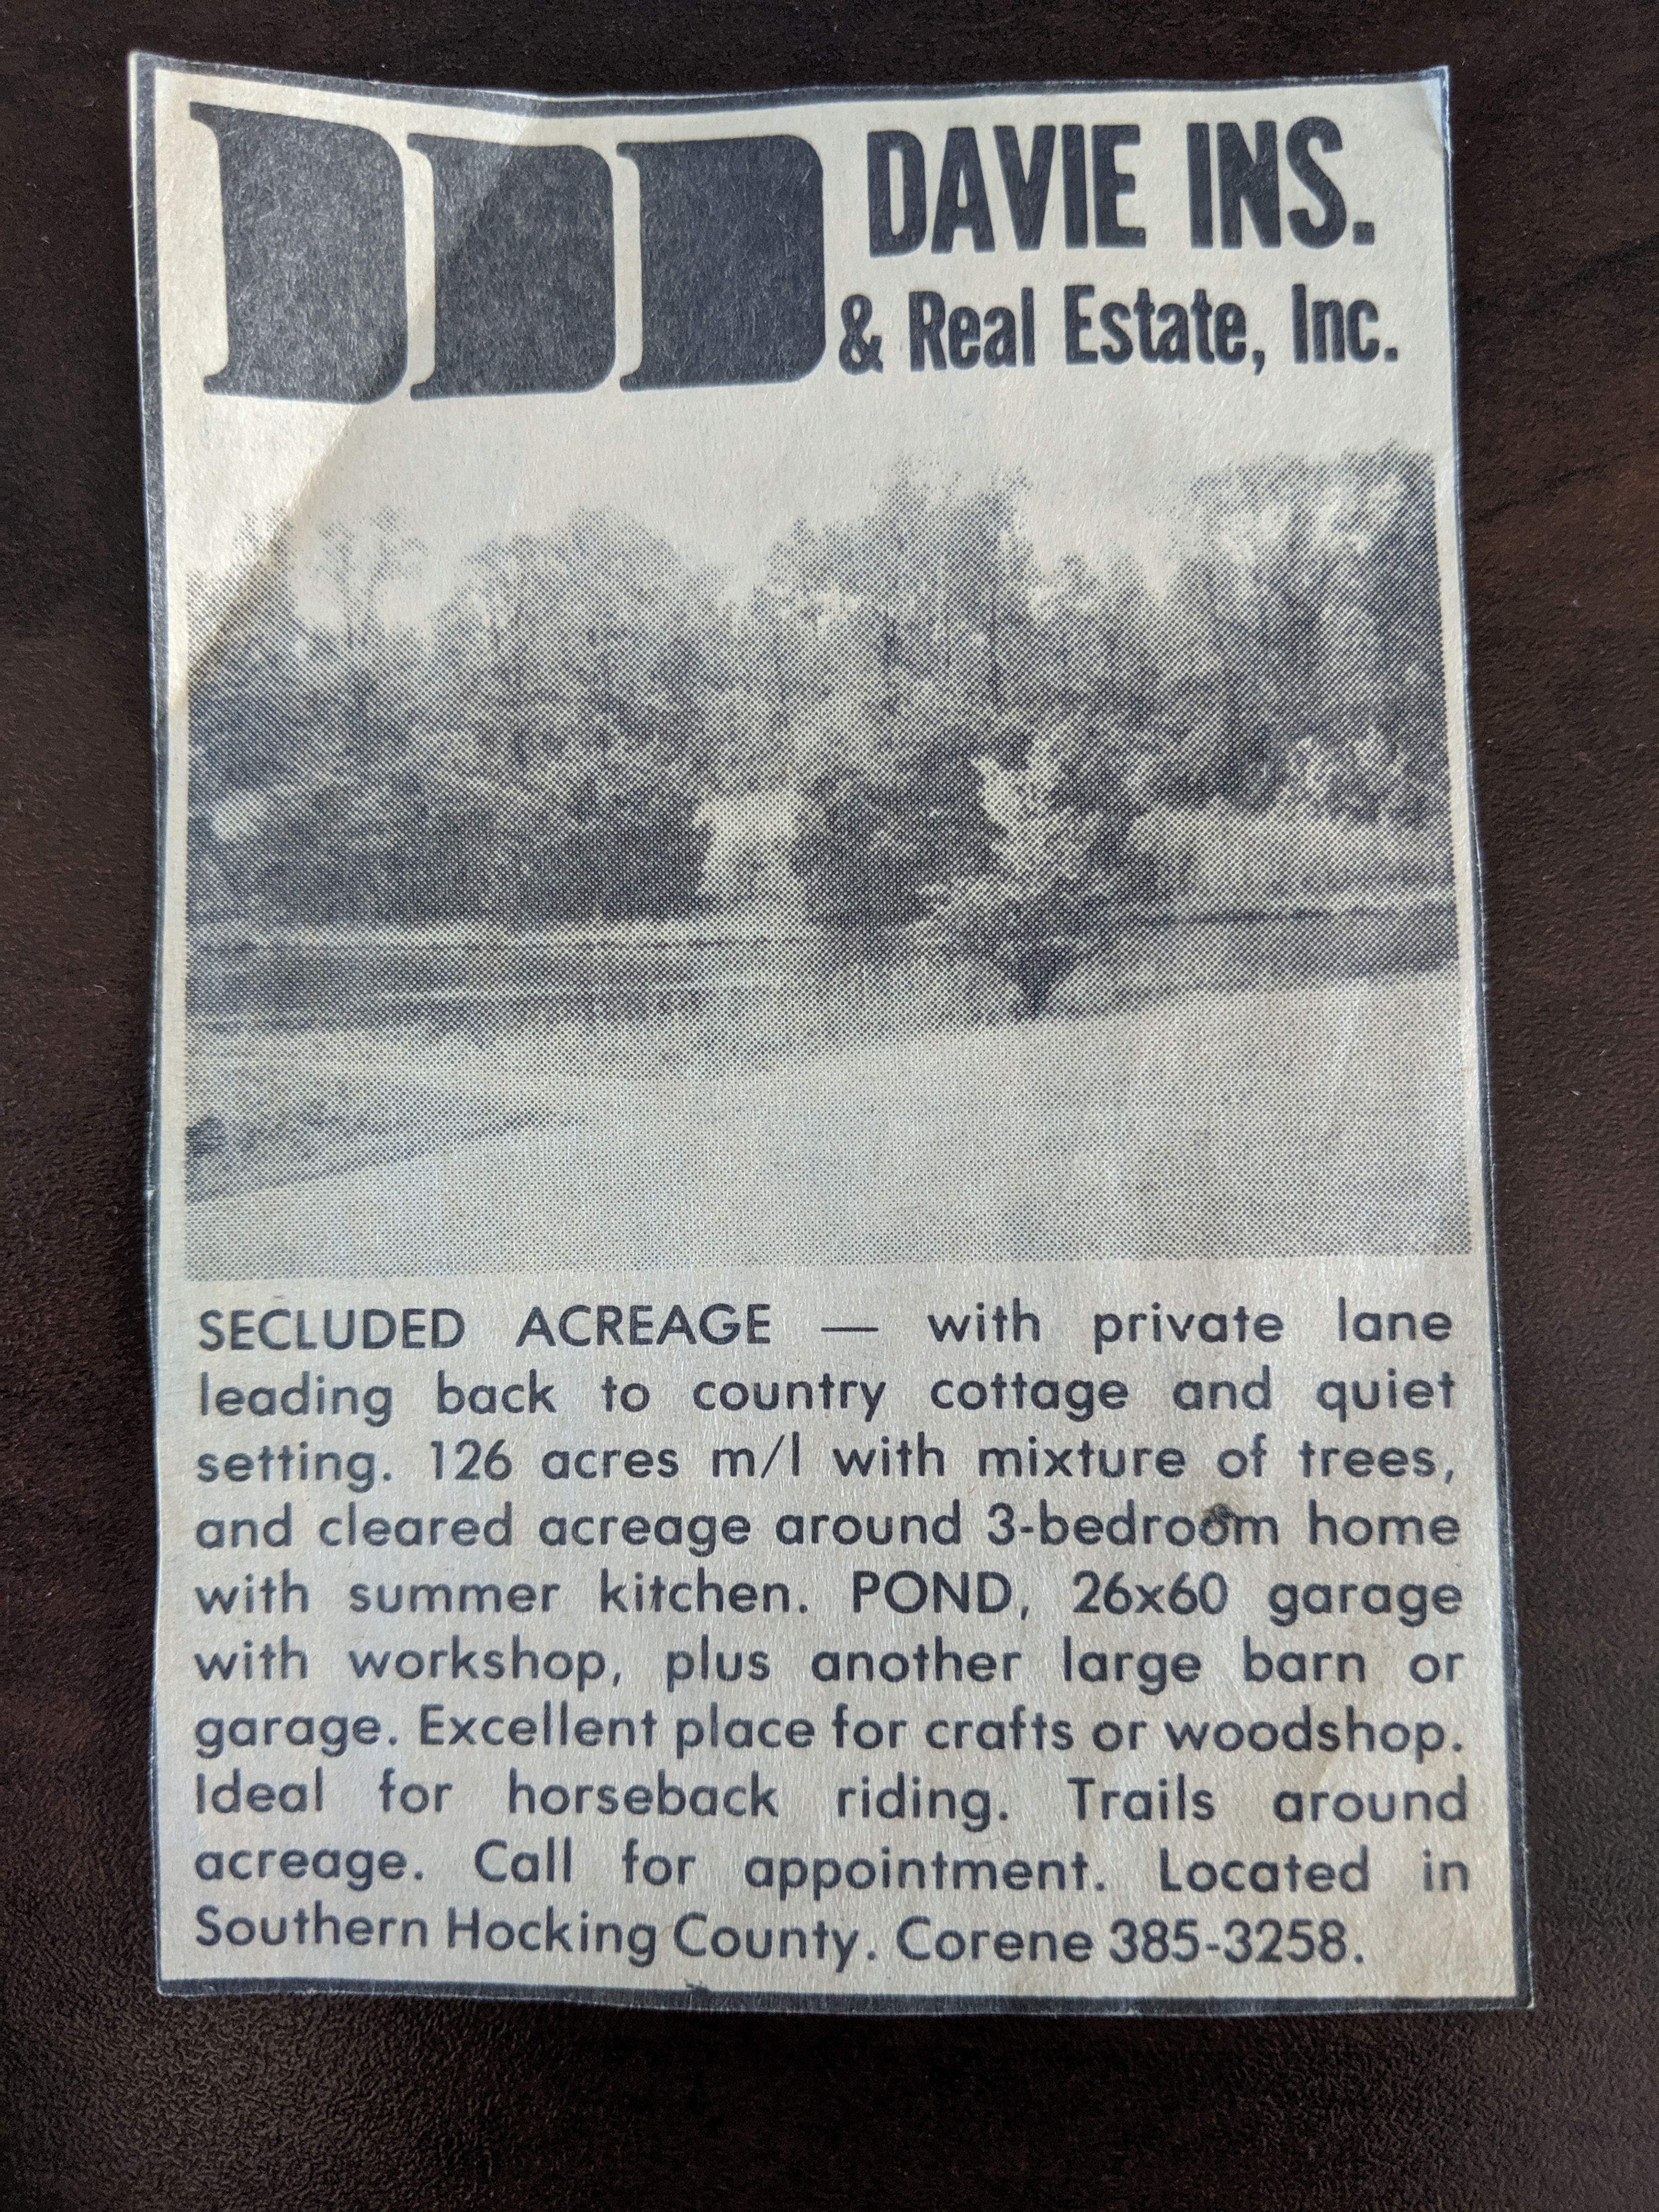
Chapter 2 : The Deal
Since I knew what the problem was I began looking for a solution. I started with chemicals and quickly discovered that which I had already learned in…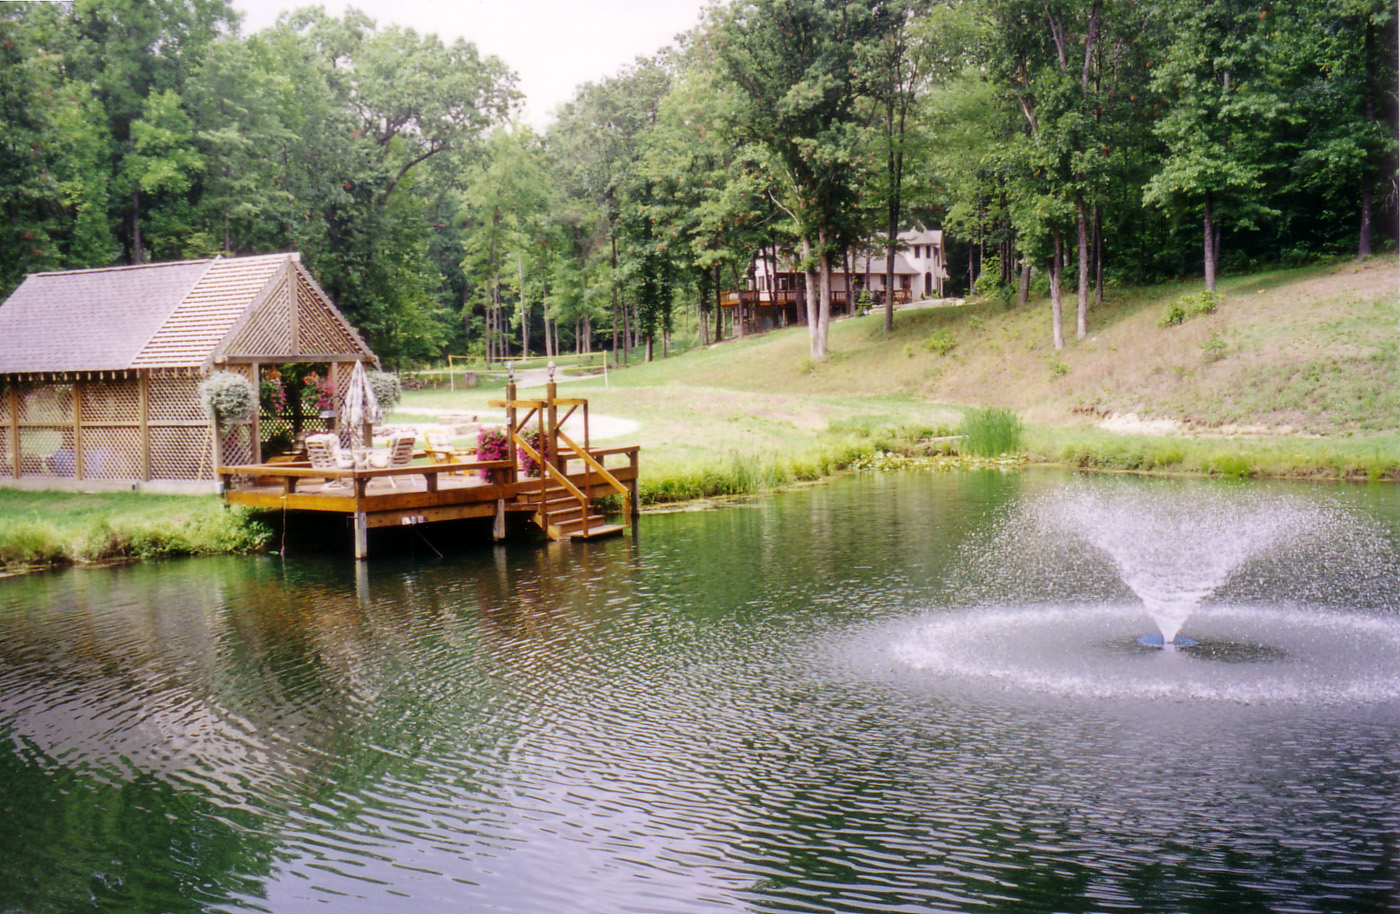
Chapter 3 : The Early Years
Following our purchase of the property in Hocking Hills my friend and I would rotate weekend stays in the old farm house. Being over 100 years old it…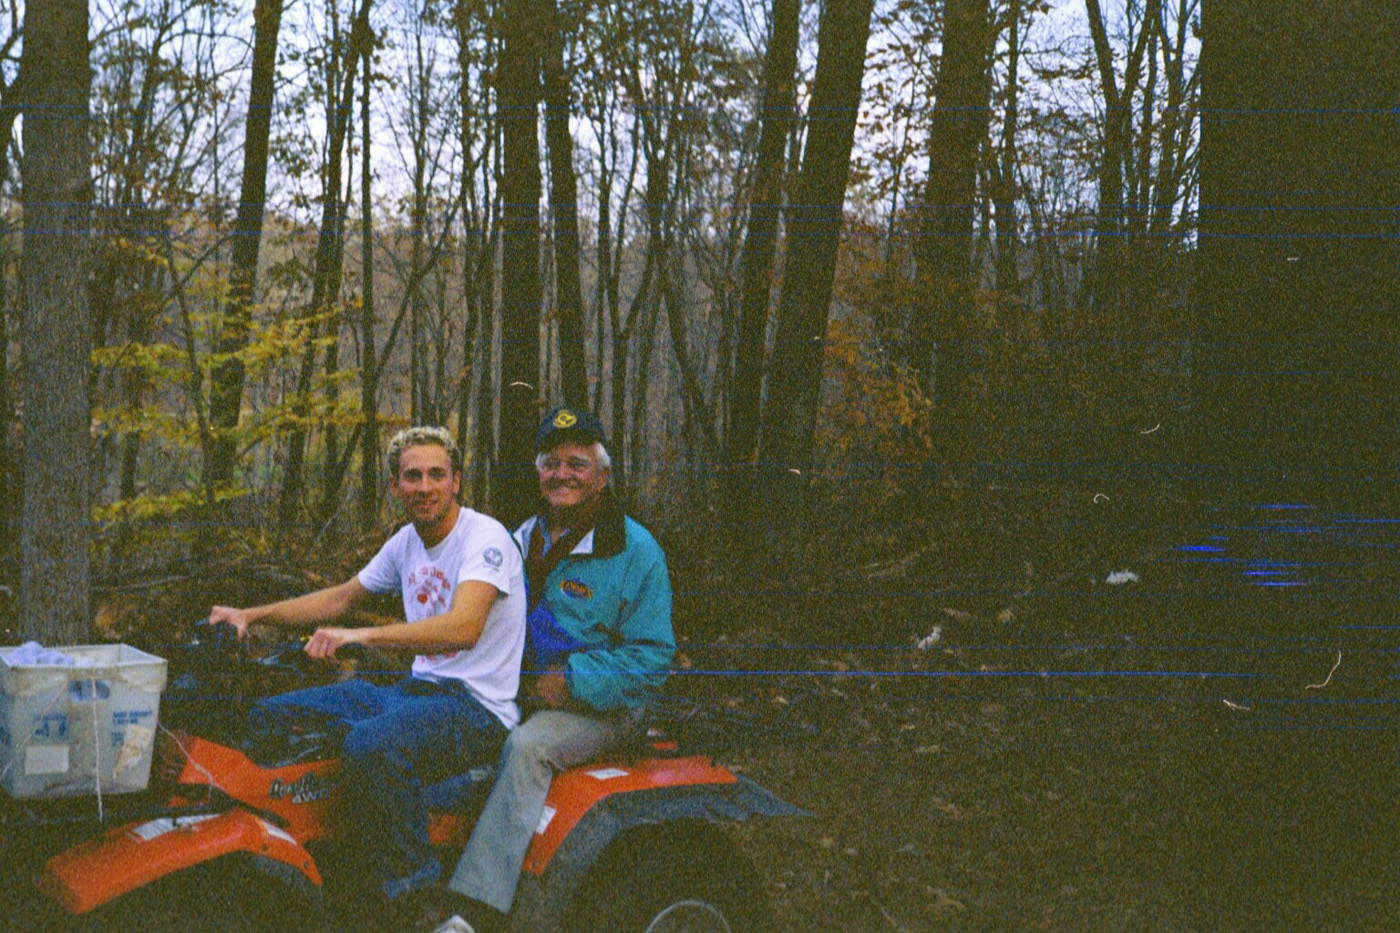
Chapter 4 : The Early Years Continued...
With a “living pond” completed for our first home, I turned my attention to the design and building of a second home on the property. I already…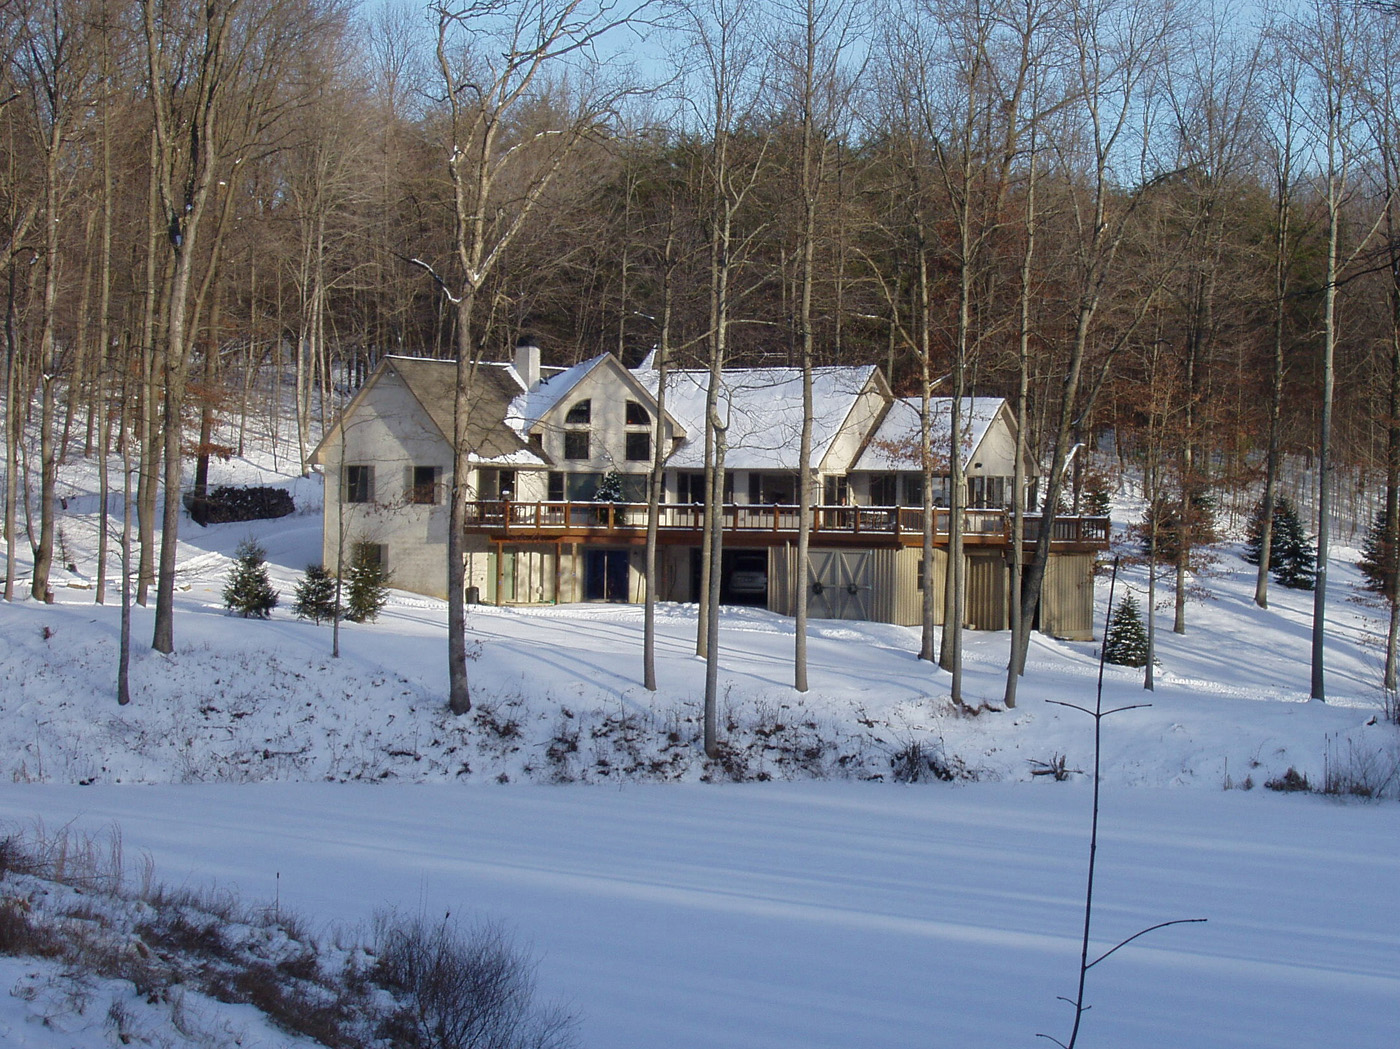
Chapter 5 : Early Projects
The first project was a wraparound deck for our home and then a barn with a hayloft. The barn was such a cool project as it was made entirely from…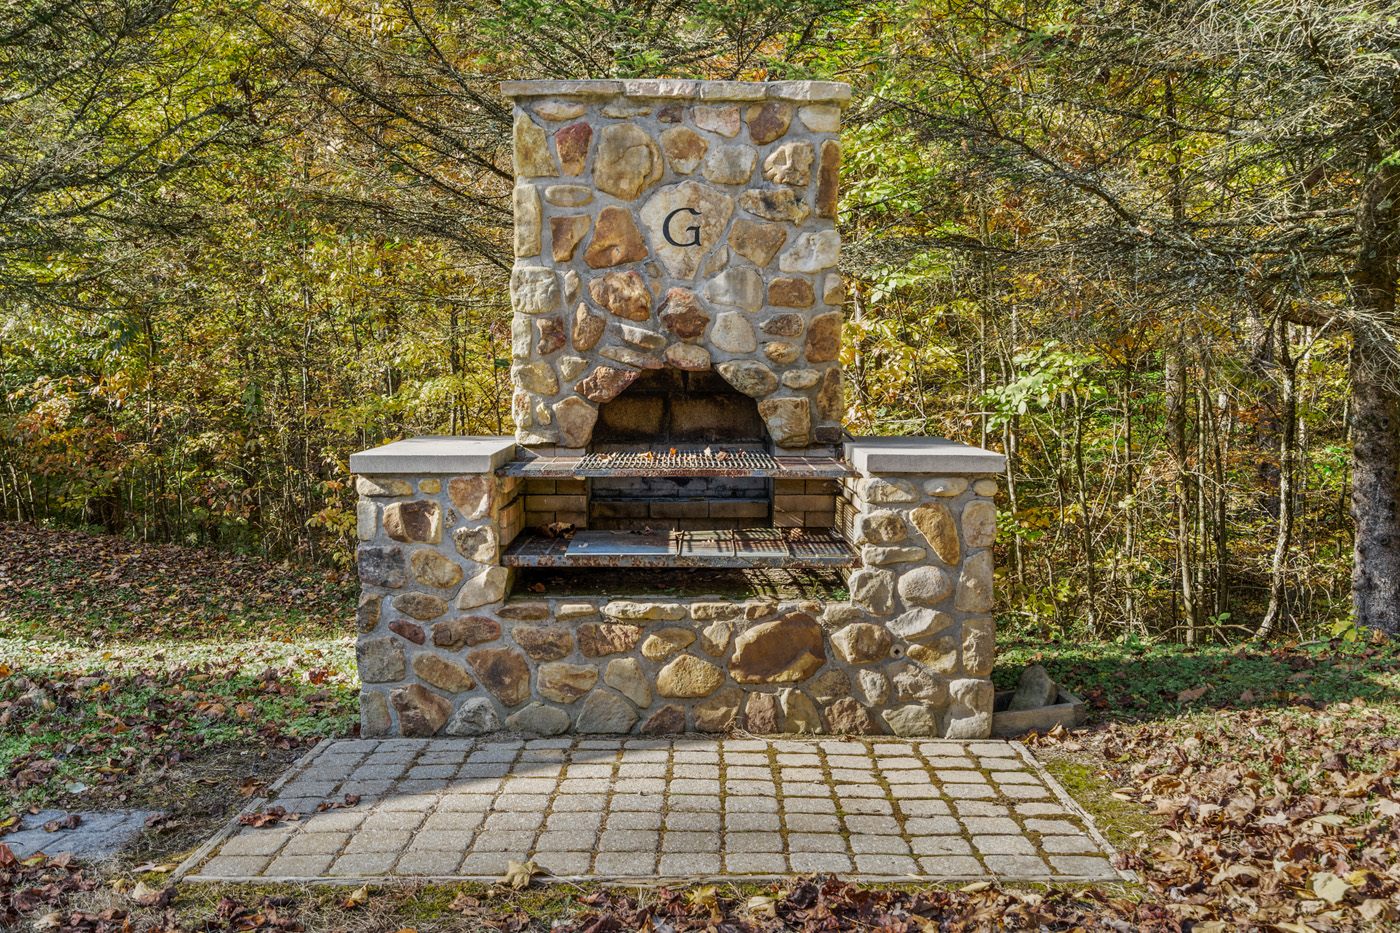
Chapter 6 : The Boat House
As mentioned in the last chapter, the Boat House was such a cool project. Built entirely of wood milled on our property, the exterior is 1” thick…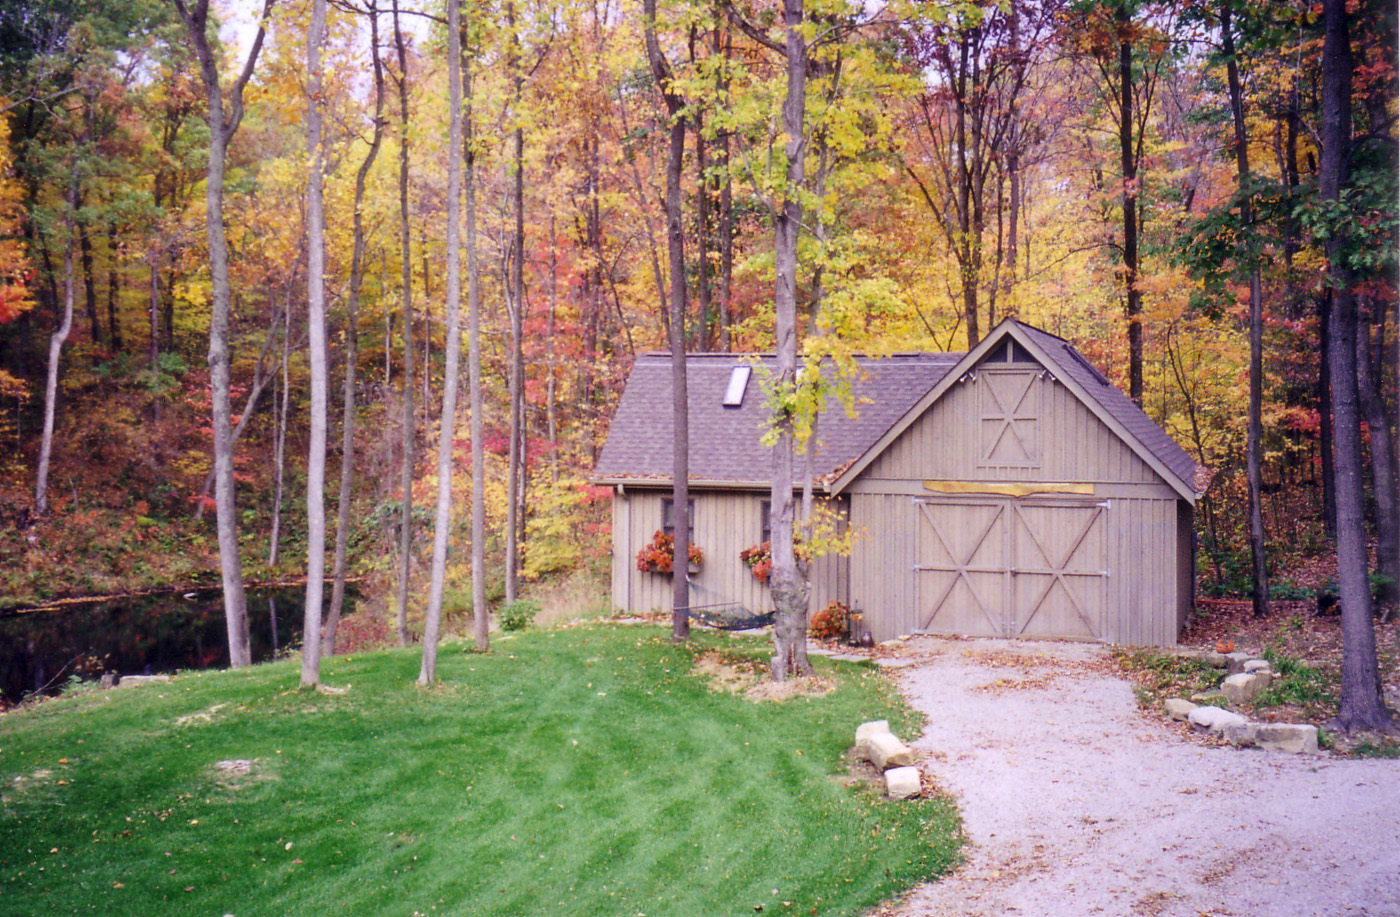
Chapter 7 : The Lake
Before I go too much further I need to tell the story of how the coolest feature on the property came about - the lake behind the Lake House. …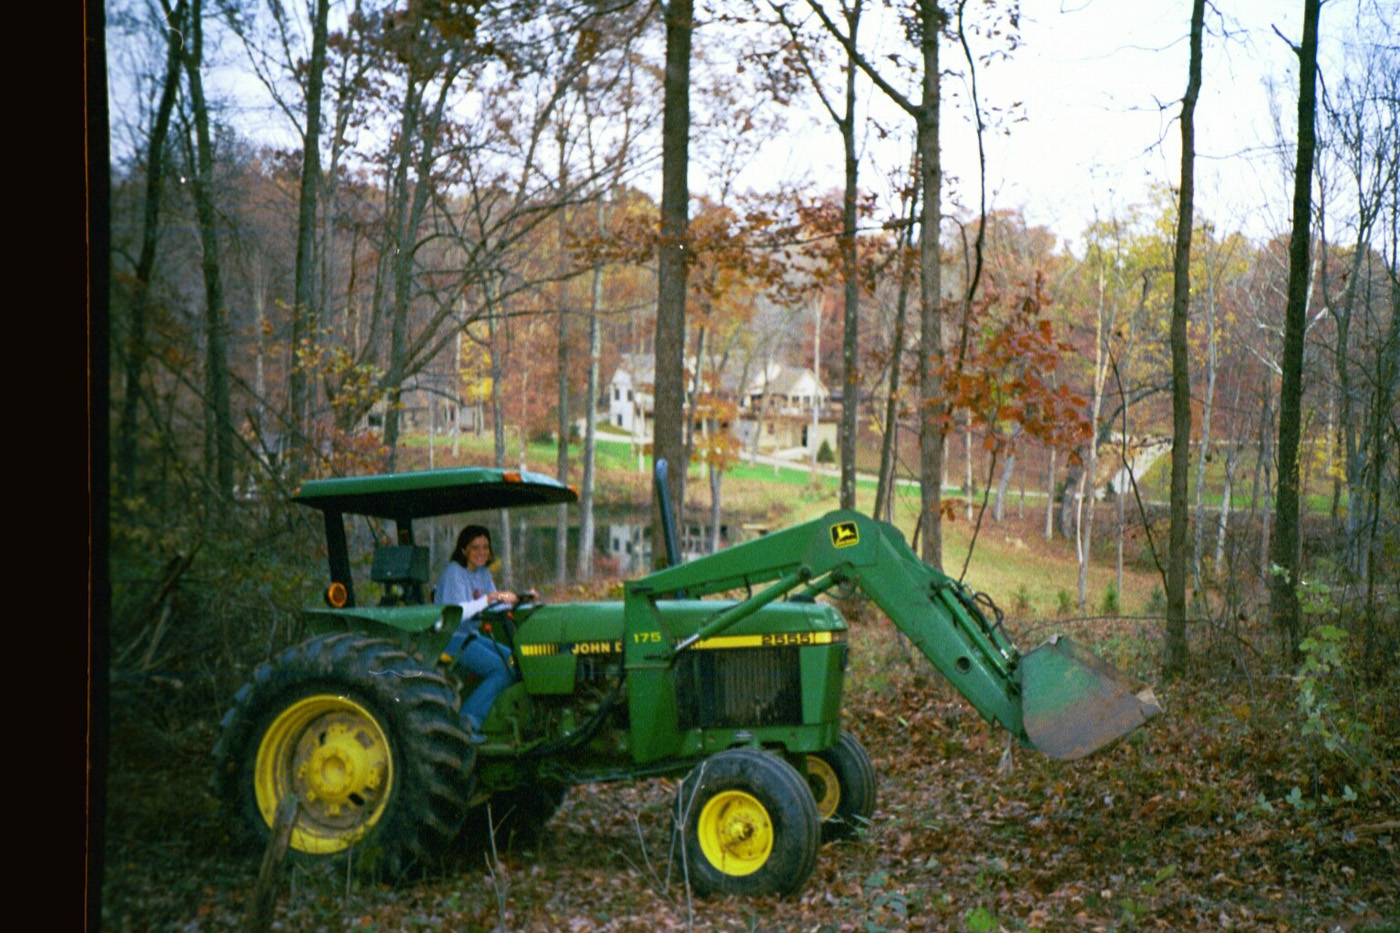
Chapter 8 : The Pond Comes to Life
With the pond now finished (mid December 1996) I invited all those who were involved in its construction to a celebratory dinner. During the…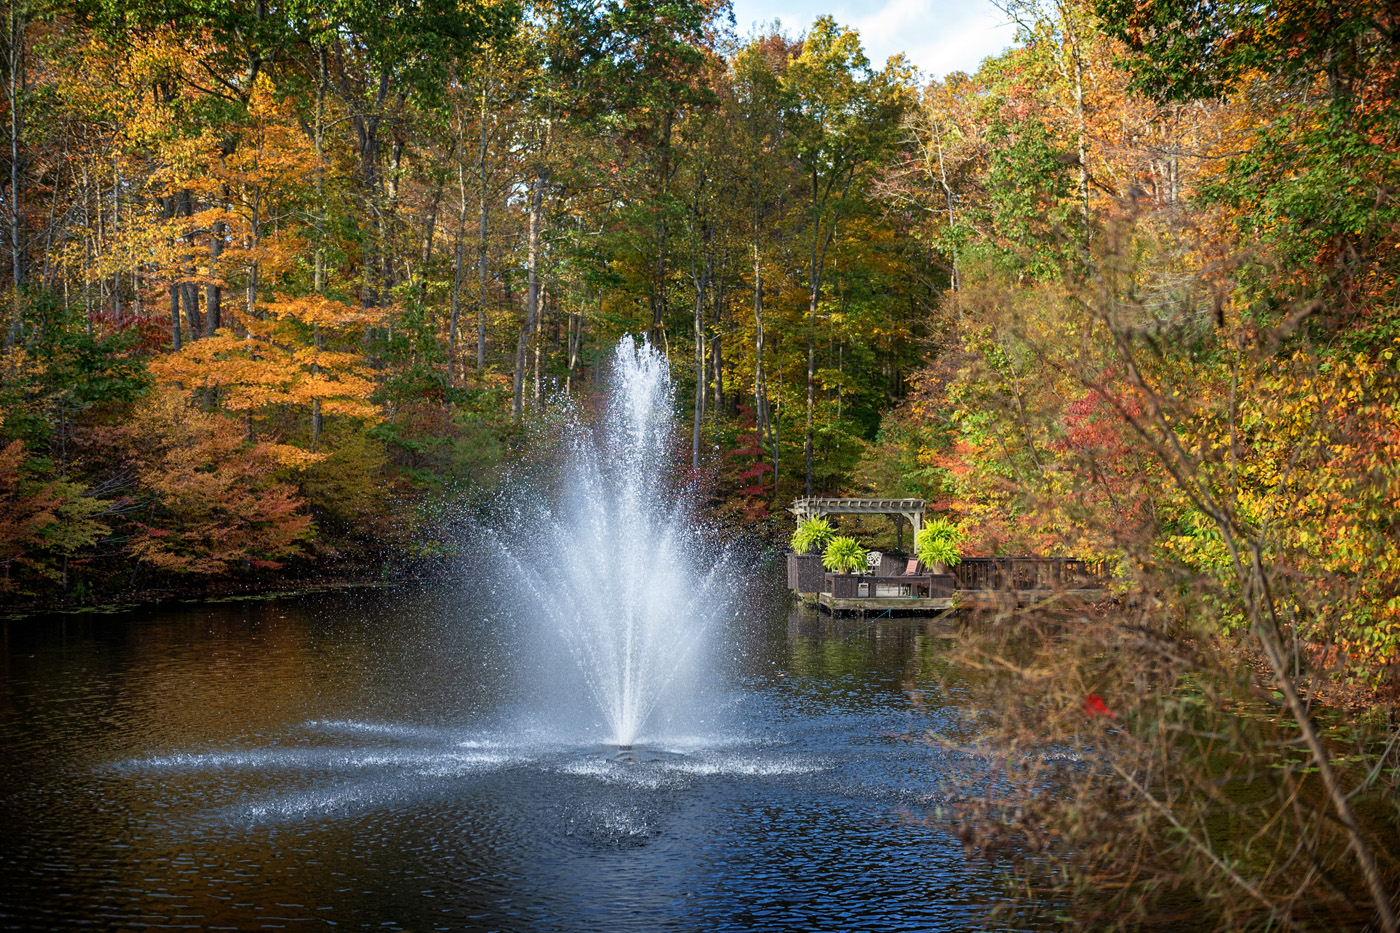
Chapter 9 : To Do or Not To Do
As Karen and I began to spend more and more time at our Hocking Hills home we developed many new friends and involved ourselves in numerous…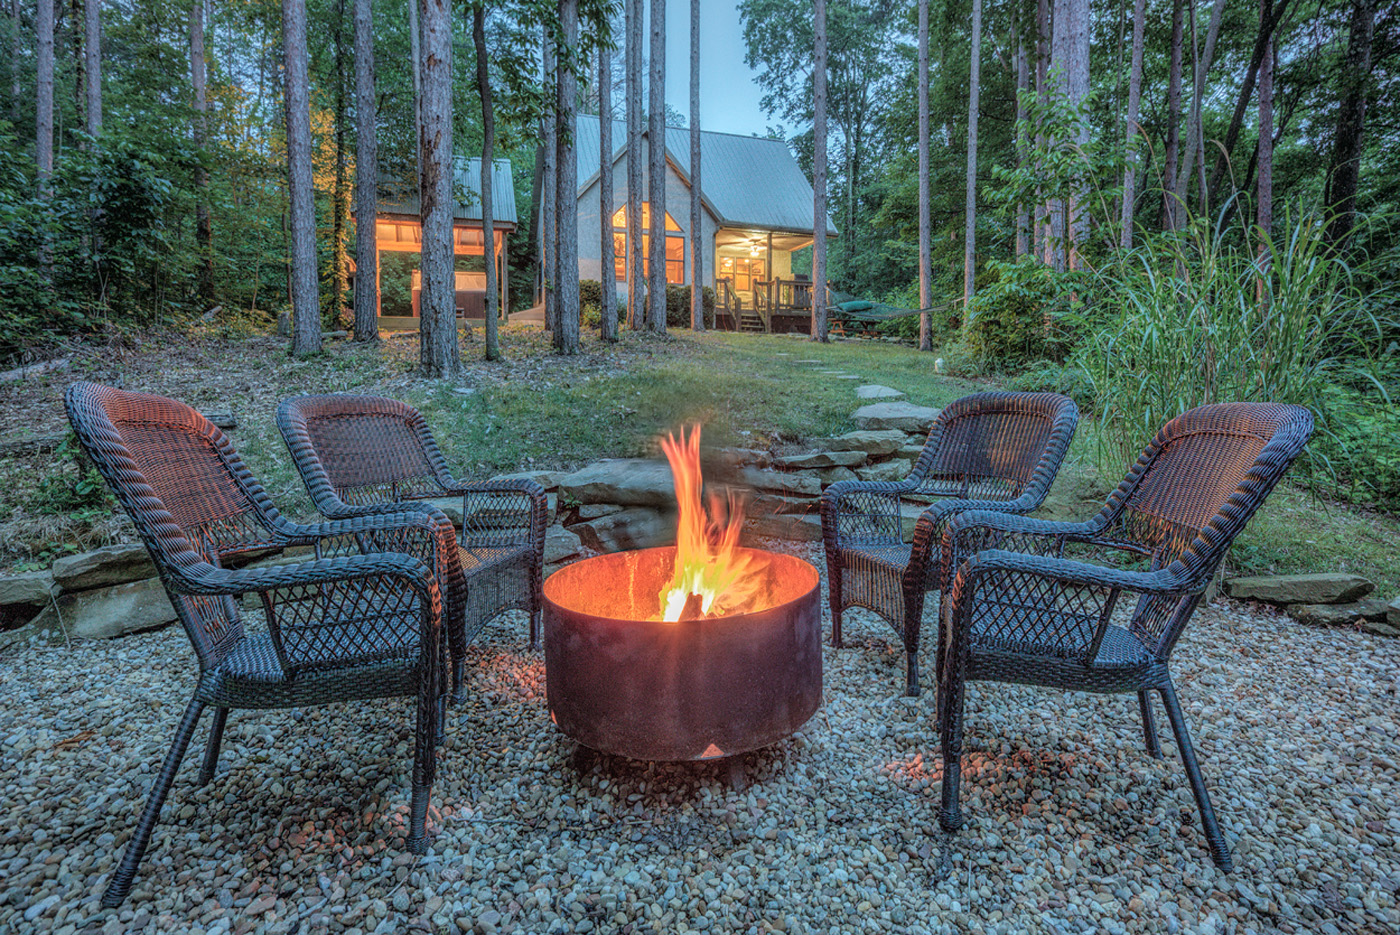
Chapter 10 : Cabin #2
Before cabin #1 (Waters Edge) was completed, reservations were rolling in and it was obvious that demand would exceed supply. As a result, no…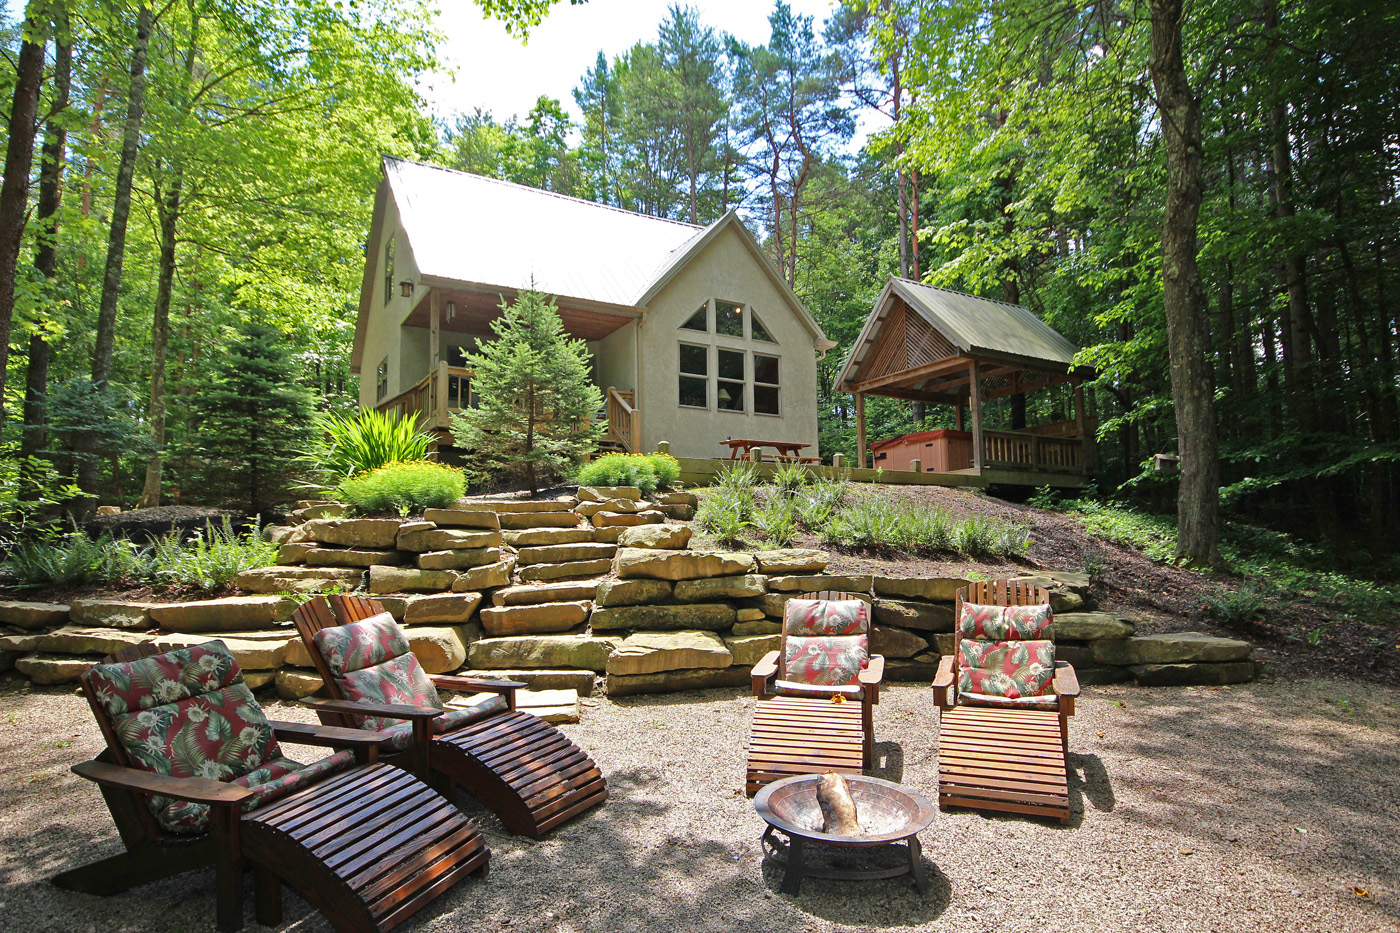
Chapter 11 : Something Special
Back in the day when nothing had been built yet and Karen and I would stay at the old farm house we had a favorite place we enjoyed going to. …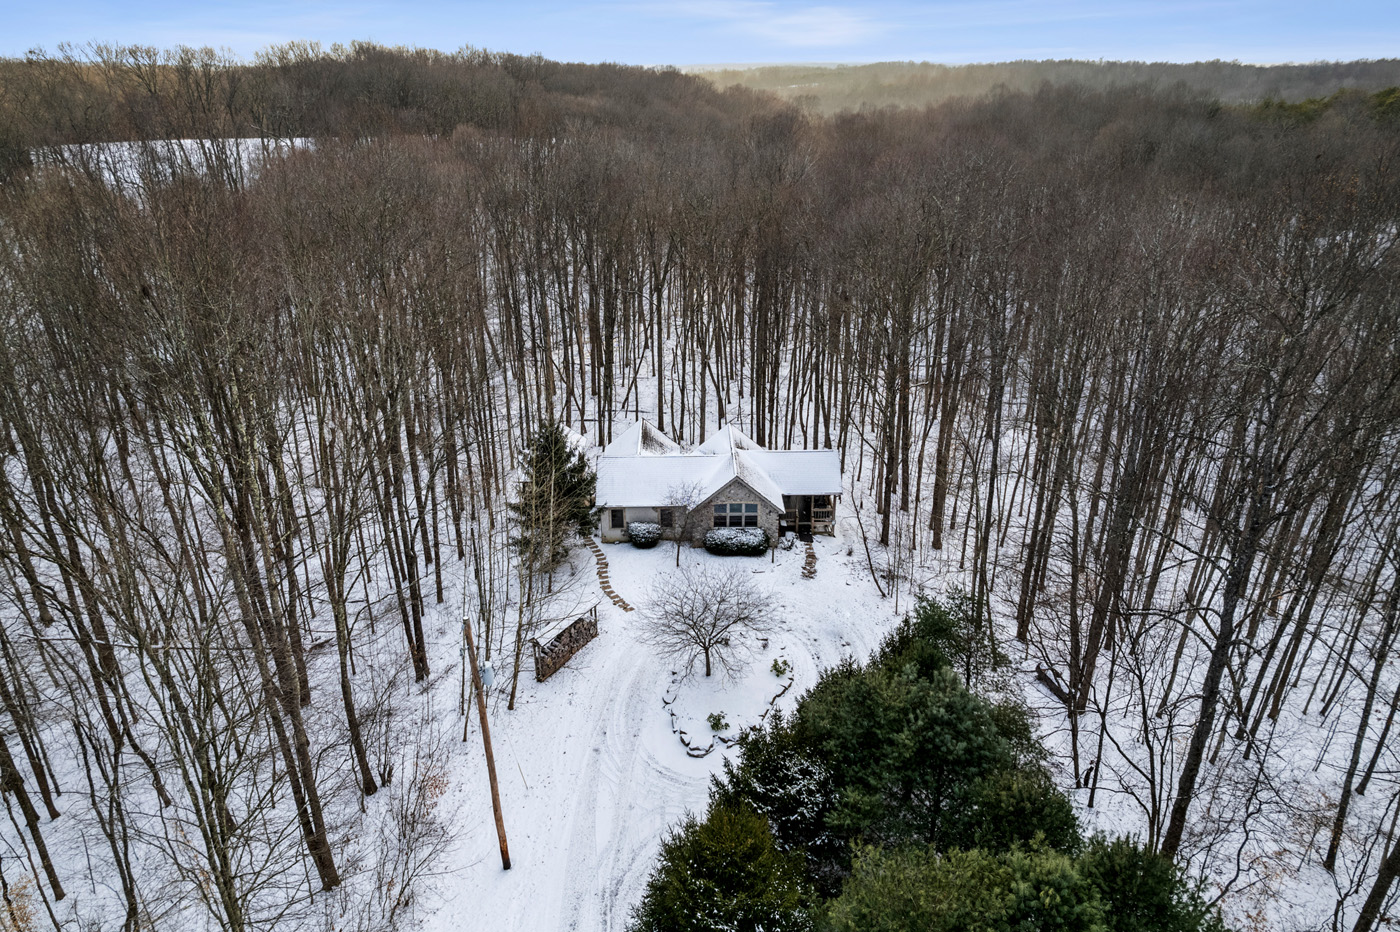
Chapter 1 - The Beginning
The Beginning
The story begins when a close personal friend of mine told me about property for sale in the Hocking Hills Region of SE Ohio. He saw an ad in the newspaper – Farm 4-Sale and invited me to go with him to look at the property.
A few days later we visited with the owner of the property, then in his 70’s, and learned about his family’s passion for the land that they had owned for almost 40 years. They lived in 100+ year old farm house which now serves as the gateway to our property.
Following lunch with the owner my friend and I, with topo maps in hand, struck out to see exactly what was for sale. We spent the next 4 or 5 hours hiking the property looking for remnants of old line fencing and cornerstones.
Farm was somewhat of a misnomer as the property was principally ravine acreage surrounded by heavily forested private property. At the end of the day we felt reasonably certain as to the property boundaries and my friend asked me if I wanted to go in on buying the land. His idea was that we would each pick out a building site and build weekend getaway cabins for our personal use.
I liked the idea but had one major concern – there was a beautiful pond on the property but it didn’t have any fish in it. The problem was adjacent property that had been strip mined in the early 70’s – it was shedding water into the pond that was highly acidic and therefore unsuitable to sustain aquatic life in the pond.
Chapter 2 - The Deal
The Deal
Since I knew what the problem was I began looking for a solution. I started with chemicals and quickly discovered that which I had already learned in my high school chemistry class – changing the PH of water is an exponential problem. If 7 represents neutral (neither acidic or basic) on a PH scale and my pond water tested well below 7 (highly acidic) and I desired to move the PH towards neutral then I add something called soda ash. But here is the problem – if it takes 100lbs. of soda ash to move the PH from 6 to 6.1, then it takes 10 times that amount to move it to 6.2 which is 1,000lbs. and 10 times that or 10,000lbs. to move to 6.3 and so on. Clearly this was not a solution and even if it were practical the problem would be ongoing, i.e. I would always be dumping chemicals into the pond.
Next, I contacted the Ohio Department of Mines and Reclamation and learned that some of my property but mostly adjacent property had been strip mined in the early 70’s. When the mining was completed the land was reclaimed (returned to natural). Unfortunately, reclamation work in the 70’s was not state of the art and most of those early efforts to return the land to the way it was failed which is very evident today as seen by deep erosion ditches with exposed coal. The person I was speaking with at Mines and Reclamation not only helped me to understand the problem but then suggested a creative solution. He put me in touch with the Mead Paper Corporation/Pulp Manufacturing Division that produced ByPro, a byproduct from pulp manufacturing. The material is highly organic – I liken it to Miracle Grow and when applied to soil creates an amazing substrate to grow plants and grasses. The Mead Corporation, during this time frame, was applying ByPro at Mining sites to help reclaim strip mined land. Up to this time Mead had never worked with private land owners but several of their executives agreed to meet with me to explore the possibility of applying their product to re-reclaim those areas that had been striped and reclaimed improperly. After several meetings Mead agreed to the reclamation and at no cost to the land owners!
It turned out that pulp manufacturing produces a number of byproducts that need to be disposed of. This material generally ended up in landfills at great expense to the paper company. Fortunate for us that it was cheaper for Mead to truck it to our property as over a three month period following our agreement, 20-30 semi-tractor trailer loads/day were delivered and graded over the scarred land. Following application of the ByPro, the land was seeded with grasses and then mowed for the next two years.
The result of this monumental effort is green pastures and the elimination of acidic runoff into our pond. Yes, the pond is now stocked, the fishing is good and we bought the farm!
Chapter 3 - The Early Years
The Early Years
Following our purchase of the property in Hocking Hills my friend and I would rotate weekend stays in the old farm house. Being over 100 years old it lacked many of today’s creature comforts but provided a roof over our heads and a place to rest our weary bodies after a day of hiking and clearing trails on the land.
This is probably a good time to introduce my wife Karen and stepson Keith, both of whom are owners. They, along with my father and myself, spent many a weekend cutting/clearing for trails throughout the property. Hardwood trees like Red and White Oaks were topped and the logs were dragged to a staging area to eventually be sawn into lumber and used to build some of the structures that now exist at Cherry Ridge Retreat. Tree tops were processed into firewood and the large stumps eventually became structures in the ponds we were to create.
Our goal in clearing for trails was to make the entire property accessible thus allowing us to fully enjoy nature’s beauty. At the same time we were scoping out the land for a future building site and pond. We decided to start with a pond because the other pond mentioned in chapter 2 was still a work in progress at this point. By studying topo maps I determined a location on the property whose watershed was comprised from acreage that had never been strip mined thus no potential for acid runoff. The pond took 2 months to build – 1 month to remove the trees and stumps in one of our ravines and another month of excavation to build the dam. Once completed and before any rainfall I created a large lily pad garden area at the inlet end of the pond by placing concrete blocks on the bottom to create an oblong containment area about the size of 2 large backyard swimming pools. I then filled the space with topsoil and cow manure – can’t believe I did that but I really wanted the lily pads to thrive and figured if this stuff is good for tomatoes it can’t hurt the lily pads. Low and behold – the lily pads took and soon began to multiply!
I also located a source for wooden pallets and anchored nearly a 100 of them near the lily pads prior to the pond filling with rain water. The intent was to create more structure for the fish that would soon inhabit the pond. Any of you reading this that have fished this pond can attest to getting hung up in my artificial reef but I am sure they would also attest to the great fishing!
The last step involved stocking the pond. The pond construction was completed in the fall and then stocked the following spring. The initial stocking consisted of 400 Hybrid Blue Gills, 80 Large Mouth Bass, 400 Shell Crackers (also known as Sun Fish), 40# of Chubs (also known as minnows) and 2 Grass Carp. The Grass Carp are now huge (15#’s plus). They feed on algae which helps to keep the water clean and clear. The Chubs reproduce several times in the spring and summer providing forage for the game fish. Anybody know what a Hybrid Blue Gill is? I’ll call it a genetic mutation, but it is basically a population of fish where 99% of the Blue Gills are female therefore very little reproduction. At any rate, the by-product of this anomaly is “dinner plate” size Blue Gills for those that avoid getting eaten by the Bass.
The last thing I will mention in this chapter, for any of you that might be thinking of building a pond, involves pre-planning for pond-side decks/gazebos. Prior to Mother Nature filling our pond, I had the foresight to sink treated wooden piers into the bottom of the pond thus providing a foundation from which to build a future deck/gazebo.
Chapter 4 - The Early Years Continued...
The Early Years Continued...
With a “living pond” completed for our first home, I turned my attention to the design and building of a second home on the property. I already had a vision in mind – this new home overlooked one of the larger ravines on the property and lent itself to a lower-level walkout along the hillside. I spent countless hours looking through magazines for ideas, and I finally settled on a log cabin design simply without the logs as I was concerned about maintenance. I sent for the plans, modified them to my specifications, and begin looking for a builder.
Ultimately, I decided to act as my own general contractor, so I began hiring subs. I started with a good excavator who provided access to the site and then dug for a foundation followed by pouring footers, laying block, and so on. The entire project took 9 months, and when I look back on it, I can honestly say there is nothing I would have done differently. By the way, our second home is the Lake House, and it is available to rent.
Shortly after the completion of our home, I was approached by one of the carpenters who helped build the house and asked about my intentions for the farmhouse. I really hadn’t given it much thought as we were very comfortable just leaving it vacant. Each time we would visit the property, we would close and lock the gate behind us and never worry about any wandering strangers. What the carpenter had in mind was renting the farmhouse and becoming our gatekeeper of sorts. Although we enjoyed our privacy, what ultimately tipped the scales was an old oil well on the property that seemed to have an inexhaustible supply of natural gas as long as you pumped the well on a somewhat regular basis. This, of course, was difficult for me to do consistently, so the decision was made to allow the carpenter and his wife to move into the farmhouse. This decision ended up being a good choice as the carpenter and his wife occupied the farmhouse for several years, and instead of paying us rent, we bartered for many enhancements to the property. In the next few chapters, I will expand on some of the unique things we built.
Chapter 5 - Early Projects
Early Projects
The first project was a wraparound deck for our home and then a barn with a hayloft. The barn was such a cool project as it was made entirely from wood that had been cut on our property. That structure today is called the Boat House and it is one of our most popular accommodations. In a future chapter I will expand on the remodel of the barn and why we decided to make it a rental.
Next we built a large deck on the pond that was mentioned in chapter 3. When the pond was 1’st excavated I augured 6×6 treated posts into the bottom of the pond before it filled with water. This became the foundation for the deck – obviously a lot easier to build the deck with the posts already in place. The deck and benches are painted every 2 years to help preserve the wood and add a bit of color at the water’s edge. With the deck in place I created a swim platform to make it easy to get in and out of the pond and in these early years Karen and I spent many a hot day floating in our private swimming hole. Imagine the feeling of swimming in this private pond in the middle of the forest. I will tell you we never had to worry about swim suits!
The summer following the construction of the pond deck my tenant/carpenter living in the farmhouse and I built the pond gazebo. It took us 2 weeks to complete. I trenched electric from our house (almost 500’) to the gazebo thus allowing for lighting and ceiling fans. The gazebo is 30’ long and roughly 12’ wide with a gable roof over 2/3 of the structure and lattice over the balance. The lattice gable allows dappled light to penetrate the structure making for the perfect environment for the huge ferns we hang in the spring and summer. The interior of the gazebo has a tiled 2-tier bar and is a favorite spot for our guests to enjoy a sunset cocktail. Next to the bar I constructed a large stone barbecue. We first used the barbecue in the spring of 2003 while hosting a picnic to celebrate Keith’s graduation from Ohio University. The grill can easily accommodate 50 burgers at a time and today serves as a favorite gathering place for families that enjoy picnicking at the pond.
During these early years I was still working as a life insurance salesman and always looked forward to spending most weekends in our new home. We entertained family and friends frequently and always enjoyed our peaceful retreats to “The Farm”.
Chapter 6 - The Boat House
The Boat House
As mentioned in the last chapter, the Boat House was such a cool project. Built entirely of wood milled on our property, the exterior is 1” thick red and white oak constructed in a batt and board finish. For those of you non construction types, batt and board refers to wide plank boards that are nailed vertically. Where the wood planks come together there is an open seam (crack between the boards) and this is where the batt is nailed, i.e. on top of the two boards. The result gives depth to the wall and is, in my opinion, much more attractive than just a flat wall.
When the Boat House was built our resort didn’t exist. The idea behind this project was to create a rustic “barn like” structure where I could store my tractor, smoke cigars with my pals and pursue a few of my hobbies. As such, amenities were minimal – half bath, no kitchen, poorly insulated but heated and air conditioned so that I could use it year round. As is the case with most barns, I built a hay loft and stocked it with 200+ bales of hay that has always come in handy for our various landscaping projects. If you have the opportunity to stay at the Boat House and look closely at the front of the building you will see where the large hinges hung to support the large barn door. That elevation is now a framed wall with large windows that replaced the doors.
Years later, after several cabins had been built, we remodeled the Boat House into a rental. I can’t tell you how many times I have wished that I had built it as a stand-alone home as opposed to a barn. As a barn I set poles (6×6’s) in the ground and then framed to the poles – this basically means built on the ground with no foundation. The result is a structure that is, to say the least, very challenging to remodel. The remodel consisted of adding a kitchen in a long narrow space where I once had a work bench adjacent to the half bath, installing a paver floor in that portion of the barn where the tractor was parked, turning my cigar room into a family room with a wood burning fireplace and adding a full bath with heated floor as an addition to the building.
The Boat House is now one of our most asked for accommodations. Below the Boat House is a 2.5 acre lake that is accessed via a staircase to a private dock with bar and sauna building attached that extends 40’ over the water and includes a dining table at the end of the dock. There is also a seasonal flat bottomed “John Boat” included as part of the Boat House rental that is docked in front of the sauna building – perfect for fishing our stocked lake or just lazy paddling around the lake. For you Dads reading this – perfect spot for a father/son or daughter getaway and teaching them to fish!
Chapter 7 - The Lake
The Lake
Before I go too much further I need to tell the story of how the coolest feature on the property came about - the lake behind the Lake House. Shortly after building my home/Lake House and before building the barn/Boat House I began to explore the possibility of creating another pond on the property - specifically right behind my home in one of the largest and deepest ravines on the property. I remember my mother commenting: "You can't build a pond down there and cut down all of those beautiful trees. You will ruin the incredible views you now have". Her opinion didn't dissuade me and I eventually contacted the Hocking County Soil & Conservation Department and enlisted their help in designing a large dam for the project.
The first step in determining the feasibility of an earthen dam is to dig test holes to determine soil composition. Fortunately the soil samples revealed significant layers of clay soil - the perfect ingredient for building an earthen dam.
Next came clearing the ravine. I enlisted the help of a neighbor who had heavy excavation equipment and between the two of us we removed hundreds of trees in the proposed footprint of the pond. The largest of the trees were taken to another part of the property and eventually sawn into boards for future building projects. Even stumps were removed and set aside for future placement in the pond to create structure for the fish to hide in and around.
With the trees and undergrowth removed I next hired a pond builder to begin constructing the dam. You might think it is just a matter of mounding up a bunch of dirt but the process is actually much more involved and starts with the excavation of a key. The key consisted of a 10' wide trench that was dug until bedrock was reached. Clay soil was then layered and compacted in the trench until grade was reached. At grade the base of the dam broadened to about 80' and gradually tapered to 12' by layering and compacting clay enriched soil. Without the key water could seep under the dam. Once the dam reached the design height (almost 20') a 14" spillway pipe was installed by digging a shallow trench starting in the top center of the dam all the way to the backside base of the dam and then backfilled with clay and compacted. The inlet of the pipe was then fitted with an anti-swirl plate that was bolted to and stuck out from the end of the pipe whose purpose is to keep the water from swirling as it exits. In this manner the pipe is able to handle a much larger volume of water. With the spillway in place I constructed a small deck with an access hatch over the top of the pipe and surrounded the enclosure with galvanized hardware cloth to keep large debris and beavers from clogging the opening.
Following construction of the principal spillway a 10' wide earthen emergency spillway was created at the far side of the dam on undisturbed ground, netherworlds not on the dam but just off the dam where the dam ties into the surrounding landscape. The purpose of this spillway is to allow water to drain from the pond if the principal spillway becomes clogged or is not able to handle the volume of water coming into the pond. As such, its placement is 1' higher than the principal spillway but lower than the top of the dam. Water should never be allowed to go over the top of the dam as erosion will occur and eventually the dam will fail. The emergency spillway is kind of like the overflow in a bathroom sink - if the sink is stopped and the water is running, the overflow keeps the water from overflowing the sink.
Final steps included placement and anchoring of stumps to create optimum fish habitat, the building of a BlueGill Spawning Bed, and the erecting of a permanent foundation in the bottom of the pond for a future dock with covered bar/dining area. Lastly, Karen and I along with friends and family landscaped the "borrowed" areas where clay soils had been removed to build the dam. We planted trees and grasses to restore the scarred earth, the result of which is a gem in the middle of the woods that looks like it has always been there. And yes, my mother did have a change of heart, agreeing at the end of the project that the lake was a good idea.
So much for Dam Building 101 and my apologies to those of you who could care less. Personally I found the whole process fascinating. In the chapter that follows The Pond Comes to Life.
Chapter 8 - The Pond Comes to Life
The Pond Comes to Life
With the pond now finished (mid December 1996) I invited all those who were involved in its construction to a celebratory dinner. During the course of the evening I proposed a wager to see who could come the closest to the date when water would begin to flow out of the spillway pipe. There were probably 8-10 people in attendance and the guesses ranged from late March to early summer the following year. Since I was the host I politely waited till last with my guess. I took 2 things into consideration as I thought about a fill date: 1’st – I remembered that during heavy thunderstorms the small stream at the bottom of the ravine which ran dry in the summer, would swell to overflow its banks. 2’nd - I knew from having studied topographic maps for my area that close to 100 acres shed water to what was now my pond. Ponds generally require a 10 to 1 water shed so as not to become stagnant – for every surface acre of pond, 10 acres should shed water to the pond. My pond has roughly 2.5 surface acres and with roughly 100 acres draining towards my pond that amounted to a 40 to 1 ratio! With the soonest guess being late March, I picked February 15’th. Most everyone laughed and said “No way”. The pond filled by January 15’th! I won a “free dinner at the restaurant of my choice” and at my expense.
Speaking of lots of water, in chapter seven I talked about building a deck over the top of the spillway pipe and bolting an anti-swirl plate to the top of the pipe. During the summer that followed the completion of the pond there was a terrific storm with lots of rain and I happened to be at the Lake House when this occurred. I noticed towards the end of the storm that the water was rising in the pond and already above the top of the spillway pipe and only inches from going out the emergency spillway. I thought I was witnessing a 100 year storm event. Upon closer inspection I discovered that the ½” thick anti-swirl plate that was bolted to the top of the drainage pipe had collapsed and was covering the inlet opening. The pipe is double walled plastic, but even so, I couldn’t conceive how the water pressure would have been strong enough to buckle the pipe thus allowing the plate to close over the opening. I’m not sure what I was thinking but I opened the access door in the deck above the pipe and lowered myself to a ledge in front of the pipe where I was able to stand waist deep in water and take a closer look at what might be going on. Other than the obvious discovery of what was causing the water to rise in the pond I couldn’t understand why the swirl plate was covering the opening. And so without thinking I attempted to open the swirl plate which was still bolted to the top of the pipe. Any guesses as to what happened or if I could even do it? Surprisingly, I was able to lift the bolted plate and water begin to flow into the pipe and then seconds later the plate was ripped from my grasp and once again closed the opening. At this point I had to figure out a way to prop open the swirl plate until I could come up with a fix. What I ended up doing was grabbing a chunk of a 6x6 post and wedging it in the opening when I again lifted the swirl plate. This worked and bought me time to figure out a permanent solution. The next day I drilled holes in the swirl plate and threaded heavy nylon rope through these holes and then tied the ends of the rope to the top of the deck. Now in order for the plate to close the entire deck would have to implode. Twenty plus years later it is still working!
Sorry for the diversion…I’m supposed to be talking about the pond coming to life and so when spring arrived I contacted a fish management company and ordered 200 pounds of Chubs (small minnows) to stock my pond. The Chubs are excellent forage for predator fish and they also reproduce like guppies during the summer months which would mean a lake full of food by the fall when I intended to stock with game fish. And sure enough when fall arrived you could easily see thousands of Chubs in the shallows of the pond. Once again I called the fish company and ordered for delivery in mid fall the following: 1250 2” to 4” Bluegills, 250 2” to 4” Largemouth Bass, 1250 2” to 4” Perch and 100 2” to 4” Stripped Bass. The man who we originally bought the farm from moved to the Ohio River. He loved to fish and brought me 25 small Sauger. They have teeth like their cousins - Walleyes and Pike, get huge and fortunately for the rest of the fish they don’t reproduce in a pond. All of the fish are thriving and getting bigger and bigger.
During the day a fountain shoots water 20’ into the air and at night it illuminates the water. Two gazebos at the water’s edge allow Lake House and Boat House guests to enjoy lakeside dining, sunset cocktails or just relaxing in a comfortable chair. A word of warning – only the Lake House and Boat House guests have access to the Lake so be sure to book those accommodations if this is the experience you are looking for.
For the next several years my family and friends enjoyed our peaceful retreats to “The Farm”. I tried getting everyone to call our retreat “The Lake” but it just never stuck. Our resident carpenter, living in the farm house at the front of the property, acted as our gatekeeper and kept everything in good repair. Keith graduated from OU in the spring of 2004 and to celebrate the occasion I built a large stone barbecue at what is now our central pond and gazebo. A large stone in the center of the chimney was engraved with a G which I am sure has stumped many of our guests. The large gazebo continues to be a popular place for guests to congregate.
With the passing of time my knowledge of the area increased and I came to realize the popularity of Hocking Hills as a vacation destination. In the next chapter I will speak to the thinking process that led me to the decision to build cabins.
Chapter 9 - To Do or Not To Do
To Do or Not To Do
As Karen and I began to spend more and more time at our Hocking Hills home we developed many new friends and involved ourselves in numerous organizations. Many of these new friends were cabin owners and I have always enjoyed talking business and so gradually I became somewhat familiar with their business models. I must admit, I was intrigued. I was a self-employed business owner at the time (2001’ish), living and working in
Columbus and so I didn’t give it a lot of thought but it did cross my mind that building a cabin or two might help to pay for the property. In my mind there would be three starting points: What to build, Where to build and Who would build it.
With the passing of several months and many conversations with friends and family about the possibility of building a cabin I decided to start the process. I approached what to build by googling Rustic Cabin Designs. My criteria included low exterior maintenance, Two bedroom, One bathroom, full kitchen, family room with vaulted ceiling, fireplace, lots of windows and a covered porch. I found what I was looking for on the internet and bought what is called a vellum copy. With vellum prints you may legally modify the drawing. Next I reached out to a retired client of mine who had been an architect. I commissioned him to modify the drawings to my specifications – primarily exterior changes like stucco instead of vinyl siding, metal roof instead of shingles and more windows. Room sizes were tweaked and finishes included wide plank wood floors, boulder see through gas log fireplace, tiled countertops and maple cabinetry in the kitchen and granite vanity in the full bathroom. I also designed a detached gazebo for a hot tub.
Hand in hand with what to build I contemplated locations for the cabin. At first I considered a location opposite the Lake House and on the lake. Utilities and a septic system at this location would be challenging but not impossible and extending a road to the site would be expensive. In the end I decided against this location as it would have compromised my privacy at the Lake House. Ultimately I choose a site on a ridge, that with some thinning of the forest around it would have great views of the first pond and gazebo I built. Building a road on a ridge is a much easier proposition than other options and extending electric to the site was doable. There was plenty of room for a septic system and there was an accessible location to drill for water. Clearly, there are a lot of things to think about when building a cabin in the woods – a lot different than just building a home in a development where the roads and utilities are already there!
Lastly, who would build the cabin? One of my acquaintances happened to be a teacher who taught carpentry at a trade school. He was off for the summer and felt he could frame the cabin before the start of school in the fall. Acting as my own general contractor I hired him to frame the cabin. I hired my neighbor to build a road, clear the site, excavate for the foundation and put in a septic system. At the same time I had AEP extend temporary electric to the site and contracted with a well digger to drill for our water. The framing took a few weeks during which time I had a plumber, electrician and an HVAC contractor doing their rough ins. Next came insulation and then dry wall. I knew some Mennonite carpenters from Columbus. They all had day jobs but agreed to do the finish carpentry by working evenings. It took four experienced carpenters 5 nights to complete the finish and then I was on to painting and floor finishing followed by furnishing and decorating. The hot tub gazebo was built during construction of the cabin with a new hot tub delivered by the time the cabin was open for business. Last was landscaping around the cabin which included stone steps to a fire pit with one of the best views on the property.
We opened the cabin with mixed emotions – although excited about the prospect of a revenue stream, would this mean the end to our privacy and seclusion? And then our first guest arrived, his name was Anthony. I remember that just hours before his arrival, the porch ceiling fan was in pieces on the deck waiting to be installed. The kitchen tile that had been installed the night before was yet to be grouted and now would have to wait until our first guest completed their stay. My recently hired property manager had just moved into the farm house and knew nothing about welcoming a guest and so I told her to call me when Anthony arrived and to tell him that I would meet him at the cabin. Shortly thereafter he arrived and we. I told him he was our very first guest and welcomed him to Cherry Ridge Retreat. Following our brief introduction I returned to the Lake House, breathed a deep sigh of relief and made myself a drink. About an hour later, Karen noticed off in the distance a couple (Anthony and his guest) standing hand in hand on the deck by our first pond. She called to me to take a look – tears came to my eyes as I realized that we weren’t losing our privacy, instead we were sharing our passion for this special place.
Chapter 10 - Cabin #2
Cabin #2
Before cabin #1 (Waters Edge) was completed, reservations were rolling in and it was obvious that demand would exceed supply. As a result, no sooner was the first cabin completed but we started #2 (Still Waters). Located on the same ridge as Waters Edge, it enjoys the same view of our central pond and gazebo. Once again I hired my neighbor for road building and site preparation. During excavation for the foundation he ran into difficulty and was not able to penetrate a rock shelf just below the top soil layer. I ended up hiring an excavation contractor with a track hoe to do the dig. He had a one day minimum and about 2 hours after starting he was finished at Still Waters. Since I was paying for a full day he asked if there was any other digging that needed to be done. I wasn’t planning on a #3 so quickly but I knew where it would go and reservations were still pouring in so we headed over to the proposed site and in short order cleared and dug the foundation.
Still Waters ended up being a clone of Waters Edge. With my framing contractor back to teaching I ended up reaching out to a couple of locals that had helped with the framing of #1 and they along with me framed the cabin. For the finish I was referred to a young man who had recently moved to the area to be close to family. He completed Still Waters and went on to build 4 more of my cabins.
Rather than bore you with detail suffice it to say that #’s 3 (Whispering Pines) and 4 (Oak Ridge) were identical to #’s 1 and 2. They only differed as to location with both being located on the back side of the same ridge as my first two cabins. Both have excellent views of the deepest ravine on my property and are close to our network of groomed trails. Whispering Pines has a private pond with fountain and a fire pit at the water’s edge. It's hot tub is in a pergola and overlooks both the ravine and pond. Oak Ridge is perhaps our most secluded cabin and unlike our first three builds the second bedroom is a theater room with an amazing massage chair – our guests love it!
In the next chapter I will tell you about #5 whose location I dreamed about before building the first cabin.
Chapter 11 - Something Special
Something Special
Back in the day when nothing had been built yet and Karen and I would stay at the old farm house we had a favorite place we enjoyed going to. The spot was a peninsula of land that overlooked deep ravines on three sides. We cleared enough trees and undergrowth at the point of the peninsula so that we could build a fire pit and this became our special place to picnic and have bond fires. Quite frequently we would entertain friends from Columbus. We would cook our meals over an open campfire, talk till the wee hours and then spend the night in tents. No one wanted to stay at the farmhouse – it became our bathroom and a place to shower. I remember thinking what a great spot this would be for a home and if not for my passion of wanting to be on the water this might have been where I would have built it.
Several years went by – I built my home on the lake, remodeled the barn into the Boat House and built four cabins. Occupancy at the rentals was strong and I started thinking about the possibility of building another cabin. Of course my favorite spot came to mind and it deserved something “over the top”. Instead of looking for blue prints of what to build I approached the problem a bit differently. My concept was to create space for special occasion use, i.e. honeymoons, anniversaries, engagement, ultimate romantic getaway, etc. And so what sort of space is so inviting that it would lend itself to the foregoing? For starters, it had to have amazing “curb appeal”. The private drive would be lined with large fir trees and just in front of the cabin an island of flowering crabapple trees would add color and privacy while creating a circular drive for easy coming and going. Your first view of the cabin should elicit a big WOW. It would have to be the kind of look that a camera just can’t capture. The cabins façade became stone and stucco set into a forward facing gable with 2-story windows. Two more gable roofs, one at either end, comprised a large covered porch and an expansive bedroom suite. All windows were oversized and installed with limestone sills. Unlike most cabins in the woods exterior finishes and landscaping became a priority and no expense was spared to create that just perfect look.
If the exterior of the cabin had to have the “Wow Factor” than the inside needed to make you feel like “Oh my God, this is Amazing”. As you enter the cabin from a large covered dining porch your eyes are greeted with 16’ high spaces - a gourmet kitchen on the left with an island bar separating it from a great room with boulder fireplace on the right. The kitchen has quartz countertops, maple cabinetry and everything imaginable to prepare any sort of gourmet fare. The great room has 2 story windows that overlook the fire pit and deep ravine beyond. Floors are large plank pine and all doors and windows are cased with knotty pine.
As you continue to gaze from the front door you notice a double wide entry with built-in bookcases on either side to yet another vaulted room – the bedroom suite. The king bed is flanked by nightstands, each with stone lamps made in Charlevoix, Michigan by an artisan I met years ago while vacationing. There are His and Her closets to accommodate clothing for any lengths stay. Large windows overlook yet another ravine on the side of the cabin. Opposite the king bed is a double wide opening to an incredible bathroom in the center of which is a large all glass shower with rain-maker shower heads extending from a 12’ ceiling. The backdrop for this shower is an six foot tall stained glass window (yes, I made it) that can be illuminated at night. Two pedestal sinks and an adjoining water closet complete the “Sexiest bathroom in Hocking Hills”. If you are counting, that leaves one wall left in the bathroom and it has a sliding glass door that exits to a walkway connecting to a covered deck. The covered deck is a recent remodel of what was a small uncovered deck with a hot tub in the center. Now it is three times as large with a wood burning fireplace (with large screen TV above it) at one end and a new hot tub at the opposite end. Views from the deck are dramatic as you overlook deep ravines all of which have established game trails for amazing deer watching.
If you are looking for “that special place” cabin # 5 is it. And by the way, its name is Ravines Edge – how appropriate! In the next chapter I will tell you about #5’s big brother.
